Myloc8-Anleitung

Allgemeine Informationen
Diese Bedienungsanleitung gilt für den Myloc8-Tracker, der im Folgenden einfach als „Tracker“ bezeichnet wird. Sie enthält wichtige Informationen zur Einrichtung und zum Betrieb. Bitte lesen Sie die Bedienungsanleitung sorgfältig durch, bevor Sie den Tracker in Betrieb nehmen. Dies gilt insbesondere für die Sicherheitshinweise. Die Nichtbeachtung dieser Bedienungsanleitung kann zu schweren Verletzungen oder Schäden am Tracker führen.
Die Bedienungsanleitung basiert auf den in der Europäischen Union geltenden Normen und Vorschriften. Im Ausland müssen Sie zudem die länderspezifischen Richtlinien und Gesetze beachten. Bewahren Sie die Bedienungsanleitung für den späteren Gebrauch auf. Wenn Sie den Tracker an Dritte weitergeben, achten Sie bitte unbedingt darauf, diese Bedienungsanleitung beizulegen.
Ersteinrichtung
Installing and charging the battery
When you unpack the tracker for the first time, the battery is empty. Charge it as follows:
- Connect the charging plug of the charging cable to the tracker with the Micro USB.
- Connect the other end of the charging cable to the USB power adaptor and then to the power socket. Alternatively you can also connect the charging cable to a computer.
- Charge the tracker for 2 hours.
- The red light will blink whilst charging. When the tracker is fully charged, the light will turn solid red
- Disconnect the tracker from the charging cable.
Turning the tracker on
- Take the tracker outside so that it is in the open air.
- Verify tracker is ON by pressing and hold the ON/OFF button. Red light will blink.
- Place the tracker down and leave it for at least 15 minutes. This allows the tracker to perform its initial GPS positioning, which is required for the device to function correctly.
Once completed, the tracker will be ready for use and can be activated.
Please note: this procedure is only required the very first time the tracker is turned on.
Activating the tracker via Web
- Open your internet browser and go to myloc8.com
- Register and create your Myloc8 account, then wait for the activation email from Myloc8, click on the confirmation link, then login.
- Click on “Add Tracker” and follow the on-screen instructions.
- Insert your tracker IMEI and Device ID, and follow the instructions to activate your service plan.
Activating the tracker via App
- Download the Myloc8 app from the Apple Store or Google Play.
- Register or log into your Myloc8 account.
- Tap on "+" icon to add the device and follow the activation instructions.
Benachrichtigung
Low battery
When the battery percentage drops to 10%, an alert will be triggered using all the chosen communication methods. The user's specified phone number or email will receive the location details along with a text message.
Zone entry / Zone exit
A geofence is a virtual boundary that can be customized by the user. Whenever the tracker crosses the boundary, whether exiting or entering the defined area, the user will receive a notification within the app. Additionally, the user's specified phone number or email will receive the location information along with a text message.
Please take note that there is a cooldown period of 5 minutes between two consecutive alerts.
SOS key pressed
When the user holds down the SOS button for a minimum of 2 seconds, both the location information and a text message will be sent to the phone number or email address that they have previously provided.
Speed limit
Once the user sets a speed limit for the device, they will receive an app notification whenever the tracker exceeds the designated speed. In such cases, the user will also receive the location information and a text message sent to the phone number or email address they have provided.
Please be aware that there is a cooldown period of 5 minutes between consecutive alerts.
Start moving
Once the tracker begins to move, the user will be notified within the app. Furthermore, the location information and a text message will be sent to the phone number or email address that the user has provided.
Please note that there is a cooldown period of 5 minutes between two consecutive alerts.
Right / Left button
By pressing either of the two buttons, the user can send a message to the phone number or email address they have provided. The default text message will be "Left button pressed" or "Right button pressed," but the user has the option to customize the message for each button according to their preference.
Furthermore, the location information along with the customized text message will be sent to the provided phone number or email address.
Please note that there is a cooldown period of 5 minutes between two consecutive alerts.
Power ON / OFF
When the device is fully charged and powered on, a notification will be triggered to inform the user about the device being turned on. Similarly, when the device is shut down, a message will be sent to the user to notify them of the shutdown.
Paket
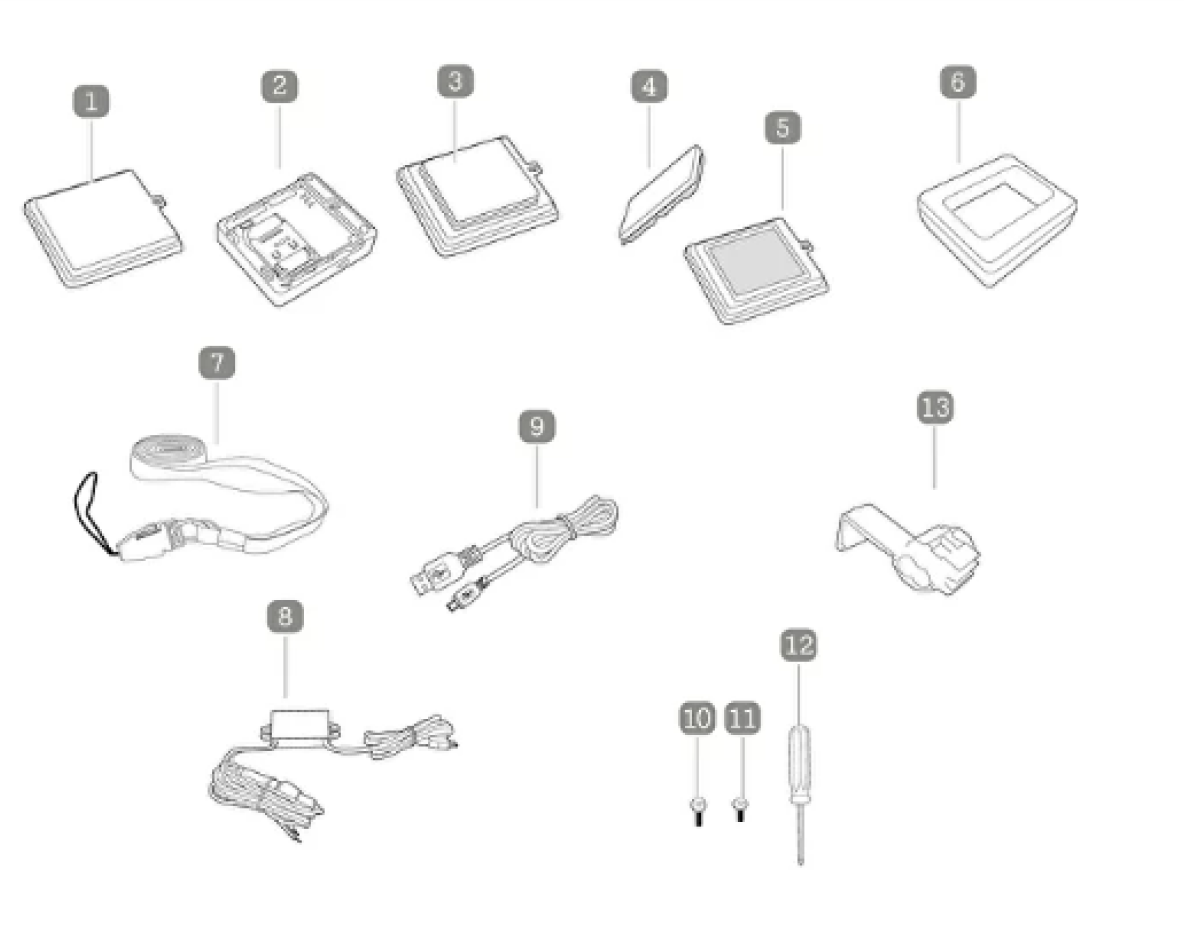
1. Akkuabdeckung mit Clip
2. SIM-Karte
3. Akku
4. Magnet
5. Klettverschluss für die Akkuabdeckung
6. Wasserabweisende Silikonhülle
7. Trageband mit Clip
8. USB-Autoadapter
9. USB-Ladekabel
10. Schrauben für den Clip der Akkuabdeckung
11. Schrauben für den Klettverschluss des Akkus
12. Schraubendreher
13. Clip
Schaltflächen
ON / OFF button
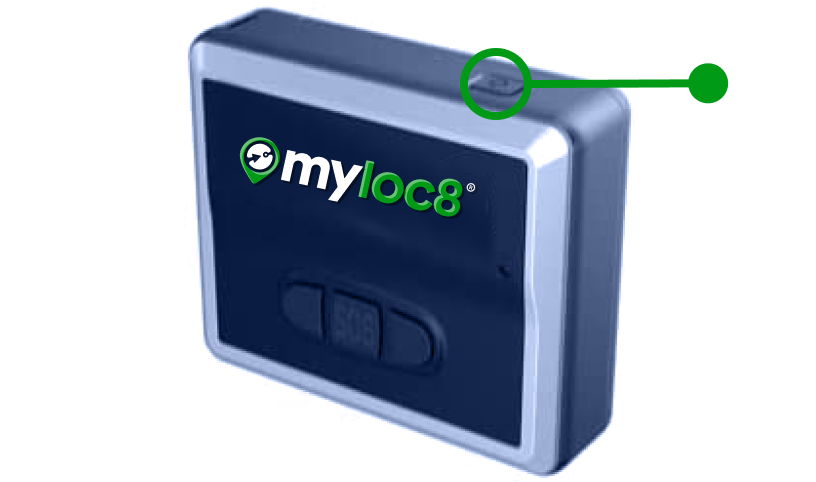
Press and hold the ON/OFF button to turn the tracker ON or OFF. Briefly press the ON/OFF button once to check whether the tracker is on.
Please note: If the green light flashes, the tracker is ON. If no light comes on, the tracker is OFF.
Left / Right
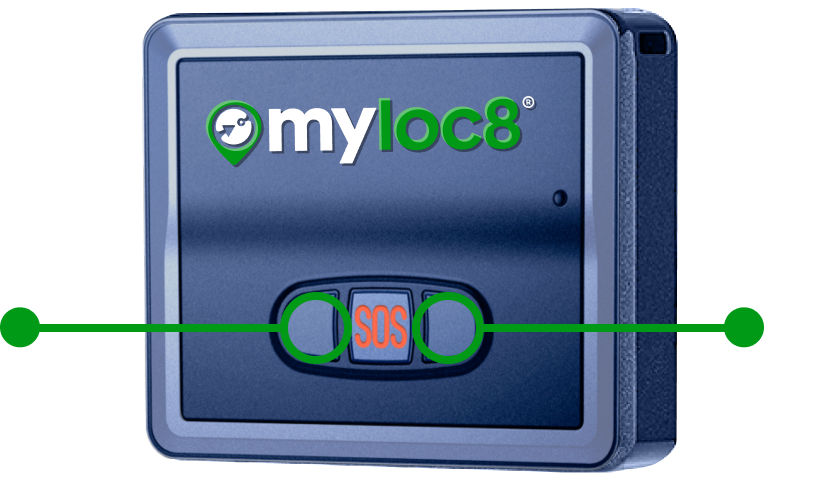
If you press on of the two buttons, you can send a message to the telephone number or e-mail address you have provided. It shows the following text message: “Left button pressed” or “Right button pressed”
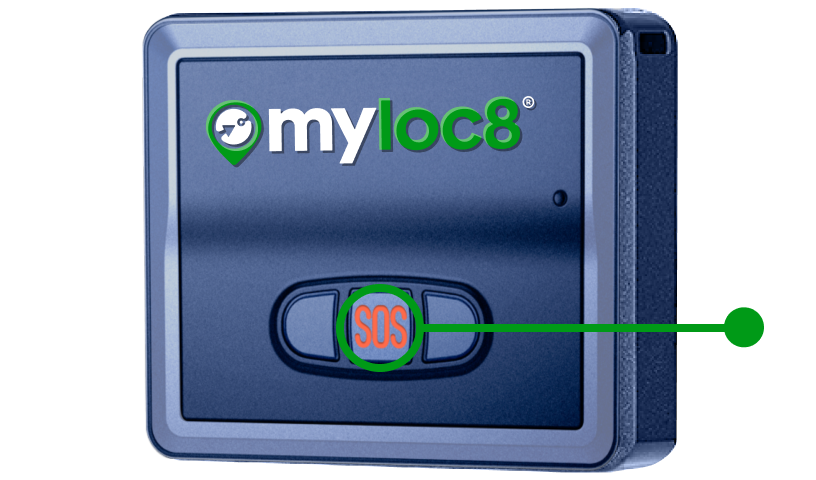
SOS button
If you press the SOS button for at least 2 seconds, the location and a text message will be sent to the telephone number or e-mail you have provided.
Beleuchtung

Device is starting up
Long press on power button

Device is powering off
Long press on power button
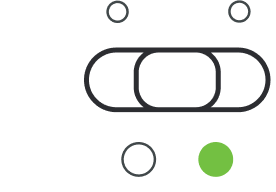
Device is online
Single press on power button
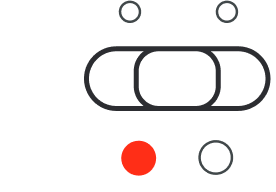
Device is on but offline
Single press on power button

Activate SOS mode
Long press

Low battery
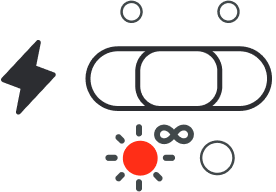
Battery is charging
Connect to power